
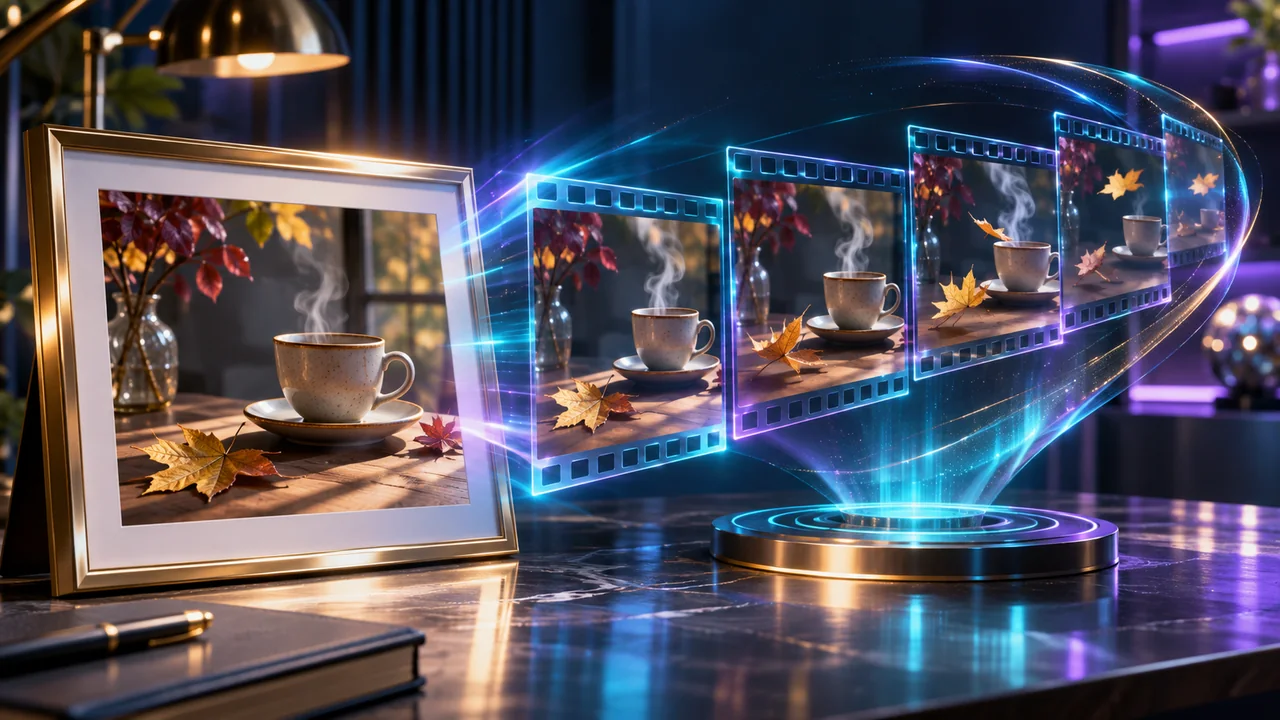
An image-to-video workflow starts with something you already have: a product photograph, an illustration or an approved campaign visual. The goal is to add purposeful motion while keeping the important parts recognizable. It is not a guarantee that every pixel, face or logo will remain unchanged.
Start with a reference that can survive movement
Choose an image you own or are authorized to use. Check the subject at full size before uploading it. A blurry label, cropped hand or partly hidden object is harder to evaluate once motion is introduced. Leave room around the subject if the camera will move. For a product shot, keep a separate copy of the original photograph for comparison.
Decide where the result will be used before cropping. A vertical social clip and a wide website video need different compositions. Select only an aspect ratio offered by the model; uploading a wide photograph does not guarantee a useful vertical result.
Build one controlled shot
- Open SponsorGlobal AI Studio and choose AI Video.
- Select a model and its supported Image to Video mode. Do not assume every variant accepts the same inputs.
- Read the reference field's format, size and count requirements, then add the image.
- Choose an available duration, resolution and aspect ratio. Use a short shot for a simple action.
- Describe the movement, review the verified customer price, and submit only when the configuration is correct.
A practical motion prompt
Try this original example: A gentle breeze moves the loose leaves beside the ceramic cup. The camera slowly pushes closer. The cup remains upright on the table. Soft morning light stays consistent throughout the shot.
The reference already supplies the cup's appearance. The prompt supplies an action and a camera direction. Runway's official image-to-video guidance also separates reference appearance from motion instructions; the exact response still depends on the selected model.
Review before another attempt
Watch the whole result once, then inspect the first frame, middle and ending. Look for a changing cup handle, sliding background, flickering edges or an unwanted camera jump. Compare the result with the original at the size your audience will see it.
If the cup deforms, simplify the action before changing several settings. Keep the subject still and move only the camera or background. If the framing drifts, reduce the requested camera movement. Record which single change you made so the next comparison is useful.
Keep a small production record
- Save the source image and its permission record.
- Record the selected mode, settings, prompt and approved quote.
- Check the existing task status before resubmitting a delayed request.
- Review the completed result in My Creations and download it when ready.
Use a separate editor for precise logos, subtitles and final layout when needed. Do not promise a client perfect identity preservation before reviewing the actual output. For the wider campaign, use our content planning checklist.
Reference
Runway image-to-video guidance